Amalgam: A blend between Outerbase, Pinecone and OpenAI
In this article, I will go through how you can recreate this application.

I am a full-stack developer with a passion for coding and a love of cooking, I'm always discovering the perfect recipe for success. With a keen eye for detail and a knack for problem-solving, I can create beautiful, fully functional web applications and when I'm not behind the computer, you can find me in the kitchen, working on my latest culinary creation I find the kitchen to be a great creative outlet that complements my work as a developer. In my free time, I also enjoy going for long walks, reading, swimming, or playing Tennis.
NOTE: Outerbase is in beta, so things are subject to change.
Amalgam is an AI-powered web application where you can have a conversation with your documents. For this application, I have used commands from Outerbase at multiple places.
I would like to express my sincere gratitude to Hashnode and Outerbase for providing this incredible opportunity. Participating in this event has been an enriching learning experience and a true privilege.
What is Amalgam?
Amalgam is an AI-powered application where you can have conversations with documents. It is an outcome of the successful integration of Outerbase Commands with OpenAI and Pinecone.
Why did I choose this project?
I was inspired to create Amalgam for the Outerbase X Hashnode Hackathon because I saw this application as a great source to learn about Outerbase Commands and how useful they can be in a real-world application.
Also, I decided to create this application so anyone reading this article can have a better understanding of how those Outerbase Commands can be implemented in a real-world application.
What is Outerbase?
Outerbase is a modern, cloud-based database interface that enhances teamwork and efficiency.
It features EZQL, a natural language to SQL agent for easy data queries.
Commands to automate your workflows.
Dashboard to create graphs to visualize the database, to create graphs we need to use queries.
An SQLite database with 1GB of storage.
Ability to connect an existing Postgres, and MySql database.
It's suitable for developers for simplified database management, product teams for direct data access, and businesses for a comprehensive database view and cost reduction.
Definitions
Semantic Search: Semantic search is a data searching technique that uses the intent and contextual meaning behind a search query to deliver more relevant results.
What is the tech stack used?
When building an application, it’s important to carefully choose the technologies and tools that will be used in its development. In this section, I will take a closer look at the tech stack used to build Post iT and explore how each technology contributes to the functionality and user experience of the app:
Next.js 13.5.2 /app directory as the React-based framework for building the application
Outerbase Commands to do CRUD operations in the application.
TypeScript for adding static typing to JavaScript.
Tailwind CSS is the utility-first CSS framework for styling the application.
Langchain to make the application context-aware while answering.
Pinecone to store vector embeddings.
OpenAI to create embeddings.
Next Themes for adding light and dark mode support
Hashnode for providing this opportunity and platform to share and write great articles.
Zod for client-side validation
OpenAI to answer questions based on the data they have added to the application.
Note: I have tried to use Outerbase to the extent that it is currently possible based on my understanding. In this application, there are some parts where I am not able to implement Outerbase commands.
Understanding Amalgam
So in this application, AI is used to provide answers based on the content. Now the content is being provided to it from the files in the document folder which can be found in the GitHub repo.
The content is first broken down into chunks using langchain and then those chunks are converted from words to vector embeddings using the OpenAI 'text-embedding-ada-002' model and then upserted into the Pinecone database using Outerbase Command.
So when a user asks a question, the question is first embedded into vectors using an Outerbase command, and then those embeddings are used to query the Pinecone database again using an Outerbase command. After that, the top 3 matches are returned, and an answer is produced based on the matched content. This is an application of Semantic Search.
Use of Outerbase Commands
In this application, I have used Outerbase commands for various purposes which are as follows:
Creating an index in Pinecone from the front end
List all indexes (I am on the free account so I can only create one index)
Upsert data into the index.
Creating OpenAI embeddings
Using those embeddings to query Pinecone
In summary, Outerbase is being used in this application to execute commands such as creating an index in Pinecone, getting text embeddings of input string from OpenAI, querying Pinecone with those embeddings to retrieve answers from Pinecone.
Prerequisite
Next.js application with components from shadcn/ui.
OpenAI API key.
Pinecone account
Outerbase Account with a base initiated.
Creating Commands
Before getting started to create a command, two values will be required multiple times. The two values are:
Pinecone Environment
Pinecone API key
In some parts of this application, my keys might be visible just so I can provide a better understanding. When you recreate those commands make sure to use your own. I will be deleting those keys after I am done writing this article.
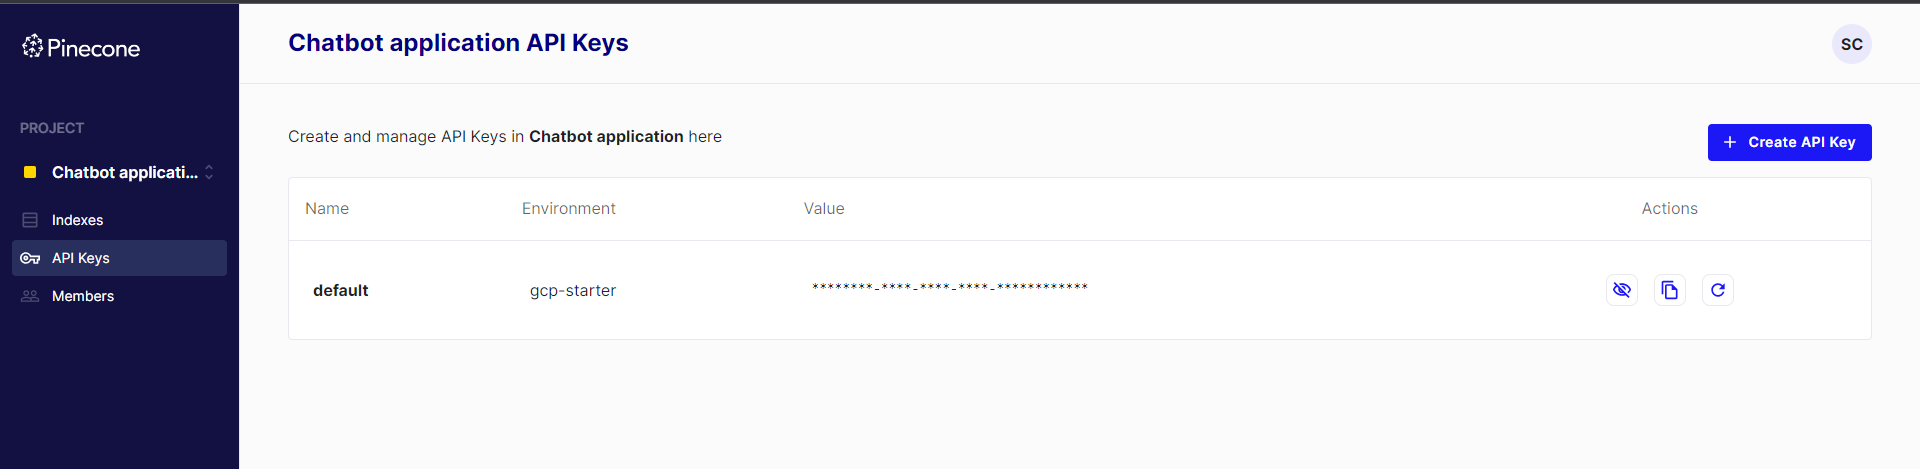
Now to get those values go to your Pinecone account --> Click on API keys on the left sidebar.
Command to create a Pinecone Index
- The code for a Command to create a Pinecone Index is as follows:
async function createIndex() {
  const response = await fetch('https://controller.PINECONE_ENVIRONMENT.pinecone.io/databases', {
    method: "POST",
    headers: {
      'Api-Key': 'YOUR_API_KEY',
      'Content-Type': 'application/json'
    },
    body: JSON.stringify({
      "name": {{request.body.name}},
      "dimension": 1536,
      "metric": "cosine"
    })
  });
  return response.json();
}
Note: It takes around a minute for the index to be ready after creating it.
In this code, I have hard-coded the dimension and metric.
Good to know: The output for 'text-embedding-ada-002' is 1536 dimensions.
Once you have successfully created an index, you should see something like this in your Pinecone dashboard

The link that was generated below the index name (in this case, the index name is 'outerbase') contains the project id and this link will be used in the commands mentioned below.
Command to query Pinecone
async function queryPinecone() {
  const inputValue = JSON.parse({{request.body}}) //Takes an array as input value
  const response = await fetch('https://INDEX_NAME-PROJECT_ID.svc.YOUR_ENVIRONMENT.pinecone.io/query', {
      method: "POST",
      headers: {
      'Api-Key': 'API_KEY',
      'Content-Type': 'application/json'
      },
      body: JSON.stringify({
      "vector": inputValue,
      "topK": 3, //number of results returned from Pinecone. My data is small so I have used 3.
      "includeMetadata": true
      })
  });
  return response.json();
}
Command to Upsert in Pinecone
Upsert is a mix of update and insert. So it will either insert the data or, if it exists, update it if required.
async function upsertPinecone() {
const vector = JSON.parse({{request.body}}) // array as input
  const response = await fetch('https://INDEX_NAME-PROJECT_ID.svc.YOUR_ENVIRONMENT.pinecone.io/vectors/upsert', {
    method: "POST",
    headers: {
      'Api-Key': 'YOUR_API_KEY',
      'Content-Type': 'application/json'
    },
    body: JSON.stringify({
      "vectors": vector
 })
  });
  return response.json();
}
Command to list all Index
async function listIndex() {
    const pinecone = await fetch('https://controller.YOUR_ENVIRONMENT.pinecone.io/databases', {
        method: "GET",
        headers: {
            'Api-Key': 'YOUR_API_KEY',
        },
    })
    return pinecone.json();
}
Command to get embeddings from OpenAI
The model in use to get the embeddings is 'text-embedding-ada-002' which provides an output of 1536 dimensions.
This command takes in a string as input and the output is the vector embeddings
async function openaiEmbedding() {
  try {
    const inputValue = '{{request.body.inputValue}}'
    const response = await fetch('https://api.openai.com/v1/embeddings', {
      method: 'POST',
      headers: {
        'Content-Type': 'application/json',
        'Authorization': `YOUR_API_KEY`
      },
      body: JSON.stringify({
        input: inputValue,
        model: 'text-embedding-ada-002'
      })
    });
    if (!response.ok) {
      return "Error"
    } else {
      const jsonResponse = await response.json();
      const embeddingValue = jsonResponse.data[0].embedding;
      return embeddingValue;
    }
  } catch (error) {
    console.log(error);
  }
}
Behind the Scenes: Understanding the Code for Amalgam
The code is available here in this GitHub repo. I am writing this section with the assumption that you are running the application in your local environment. (Due to the limited amount of funds in my OpenAI account, I may not be able to provide a deployed link. Sorry for the inconvenience.)
Creating an index from the front end
Before running the code in your local environment, make sure you have the command to create an index setup, since that will be required to create an index from the front end.
To create an index from the front end with my code, first, go to components --> create-index-sheet.tsx and change this line with your create index command

Once you have done that and correctly set up your Outerbase command, you should be able to create an index in Pinecone from the front end using Outerbase Command.
Now run the application using 'npm run dev'
On the home page, there should be a button called "Create Index"
Verification Video
-
Upserting Data into the created index
On the home page, there is this button that says "Create Index and Embeddings" so when a user clicks on it, the following things happen:
- Creates a POST fetch request to the update endpoint.
In the POST handler, the following things happen:
It creates a DirectoryLoader to load documents from the ./documents folder, mapping different file extensions to different document loaders.
Loads the documents using the directory loader.
Creates a Pinecone client instance.
Makes a request to Pinecone using an Outerbase Command to get the index name.
Calls updatePinecone to index the loaded documents into the newly created Pinecone index.
Returns a response indicating the index was created and docs indexed.
Loops through each document.
Splits the document text into chunks using RecursiveCharacterTextSplitter using Langchain.
Gets embeddings for each text chunk using OpenAI's embedding API.
Creates a vector array with id, values (embeddings), and metadata for each chunk.
Batches the vectors into groups of 100.
Upserts each batch into Pinecone by making a request to a /upsertPinecone endpoint using an Outerbase Command.
Verification
Answering questions
Now that we have the data in our Pinecone vector database, the AI can answer questions based on this data.
Now if you go to the '/ai' route and ask a question, the following things happen:
- From the front end a POST request is send to api/chat route with the question.
The API route does the following:
Accepts a POST request with a question in the request body.
Makes a request to a /embedandquery endpoint, passing the question. This endpoint uses Pinecone to find relevant passages.
'/embedandquery' endpoint is an Outerbase command with two nodes. The first node takes the question as input and makes a request to OpenAI to convert it to vector embedding from a string and pass those vectors to the second node. In the second node, it takes those vector embeddings as input and does a semantic search by querying the Pinecone database. Finally, it returns the top 3 matches.Creates an OpenAI LLM instance using Langchain to generate the answer.
Joins the page content from all matches into one long string.
Calls the loadQAStuffChain from LangChain, passing the long page content and question.
This chain uses the page content and question to generate an answer using the LLM.
Returns the answer which is then displayed to the user.
Verification
Public Repo Link
Github repo: https://github.com/trace2798/ai-outerbase
Demo Video
Youtube Link: https://youtu.be/QEjUk8gJnog
I hope this article helps you. If you have any questions, feel free to leave a comment, and I will respond to them as soon as possible.
Happy Hacking !!!


